Mango Sticky Rice
Serves 4 | with Coconut Milk and Toasted Desiccated Coconut- Milk
Al fresco season is upon us at last! For a summery indulgence in the evenings, enjoy this Mango Sticky Rice. Bursting with bright flavour, this dessert is a taste of summer in every mouthful. Sweet and refreshing, mango sticky rice is a popular dish across South and Southeast Asia. Made using coconut milk, sticky rice and luscious mango, this dessert is a hit in street food markets. A symbol of abundance and prosperity, it is often enjoyed at celebrations and festivities.
Ingredients
150 grams
Sushi Rice
180 milliliter(s)
Coconut Milk
397 grams
Condensed Milk
(Contains: Milk)
15 grams
Desiccated Coconut
1 unit(s)
Mango
30 grams
Honey
Not included in your delivery
200 milliliter(s)
Water for the Rice
Utensils
Instructions
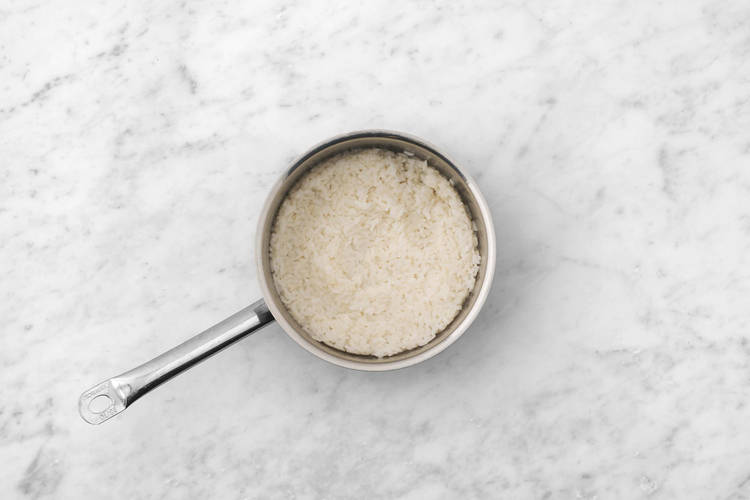
a) Thoroughly rinse the sushi rice under cold water in a sieve until it runs clear.
b) In a medium saucepan, combine the coconut milk, a pinch of salt and the water for the rice (see pantry for amount). Bring to the boil.
c) Stir in the sushi rice, then bring back to the boil. Turn the heat down to low, cover with a tight-fitting lid and cook for 15 mins.
d) Remove from the heat and stir through one third of the condensed milk. Pop the lid back onto the pan and leave to the side for at least 10 mins (the rice will continue to cook in its own steam).
a) Meanwhile, heat a small frying pan on medium-high heat (no oil).
b) Once hot, add the desiccated coconut and cook, stirring regularly, until lightly toasted, 2-3 mins. TIP: Watch it like a hawk as it can burn easily.
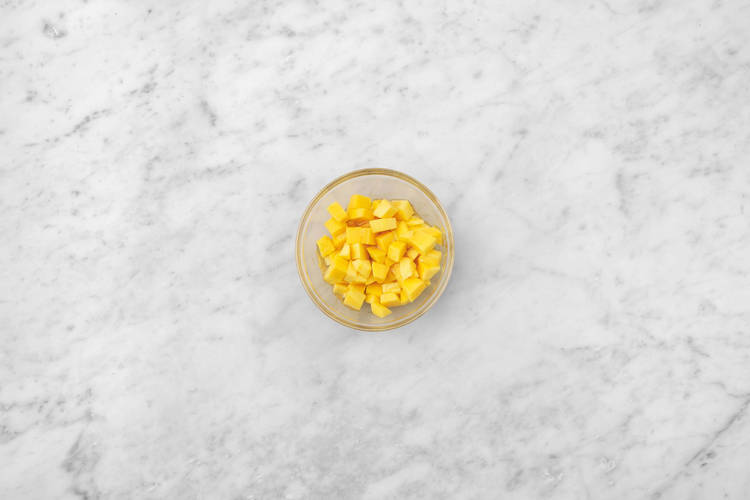
c) Peel the mango. Slice down either side of the stone to make 2 'cheeks'. Cut any remaining flesh from the stone, then cut the mango into 1cm pieces (discard the stone).
d) In a medium bowl, combine the mango and honey. TIP: If your honey has hardened, put the sachet in a bowl of hot water for 1 min to loosen.
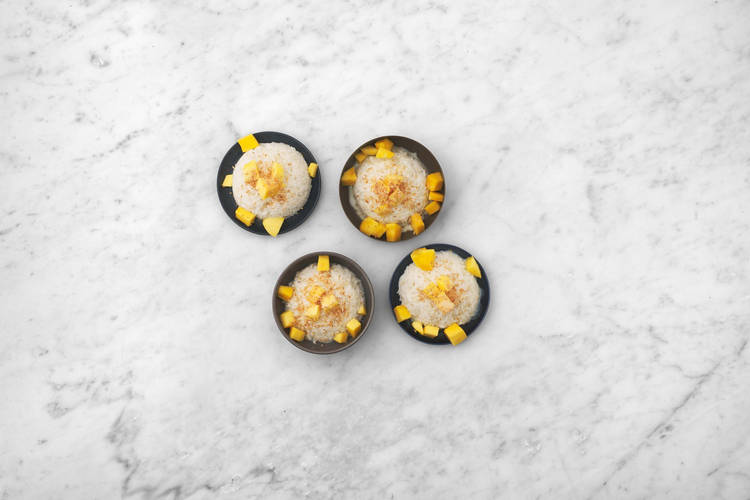
a) Once cooked, divide the coconut sticky rice between your serving bowls, placing it in the centre of each bowl.
b) Spoon the mango to one side of the rice, then top the rice with a spoonful of toasted coconut.
c) Drizzle over some of the remaining condensed milk (adjust to your liking) from the tin to finish.
Enjoy!